Perfect Sugar Cookie Recipe with Royal Icing Christmas Decorating

We love baking and decorating Christmas cookies each holiday season. The whole process takes many hours but it is so fun to get together and create sweet little cookie masterpieces!
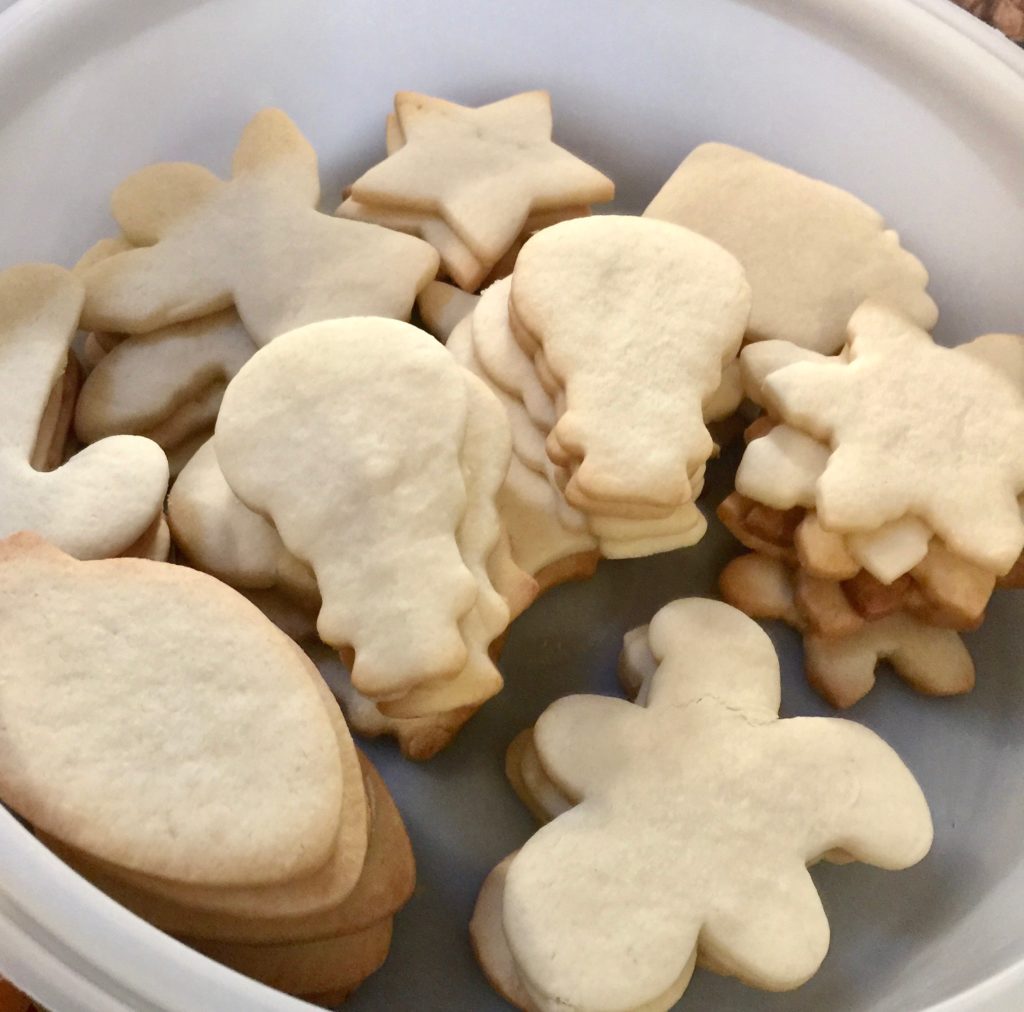
This year we used an easy sugar cookie recipe from SugarSpunRun that was perfect for our Christmas yummies. The recipe resulted in dough that was easy to work with, cut out cleanly, didn’t expand or melt in the oven, and held a lovely buttery vanilla taste after baking. Score!
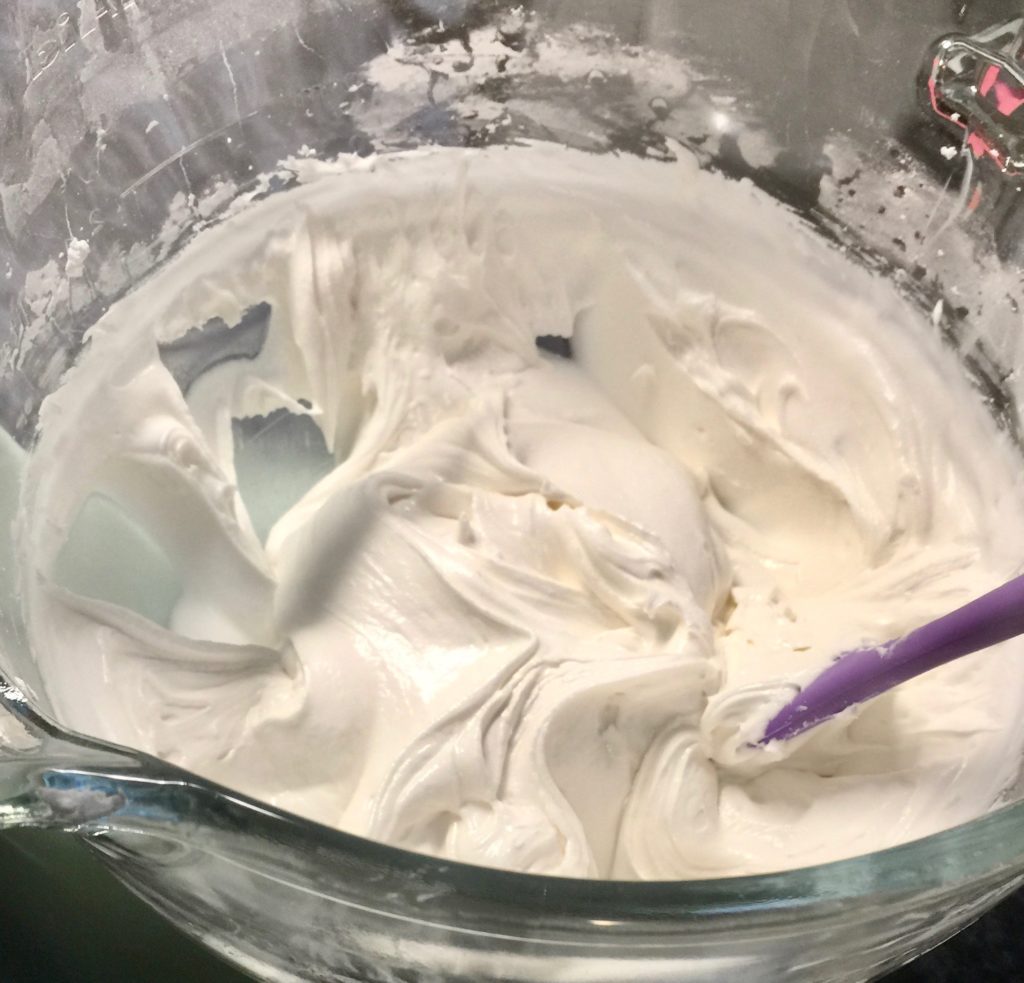
Then it was time for the icing. This is where the magic happens, turning our pale baked cookie shapes into little gems! We used royal icing, an easily colored white icing that dries to a smooth, hard, matte finish. Check out our Decorating Halloween Sugar Cookies post for a royal icing recipe & directions plus links for alternative ingredients and a video. Whew!
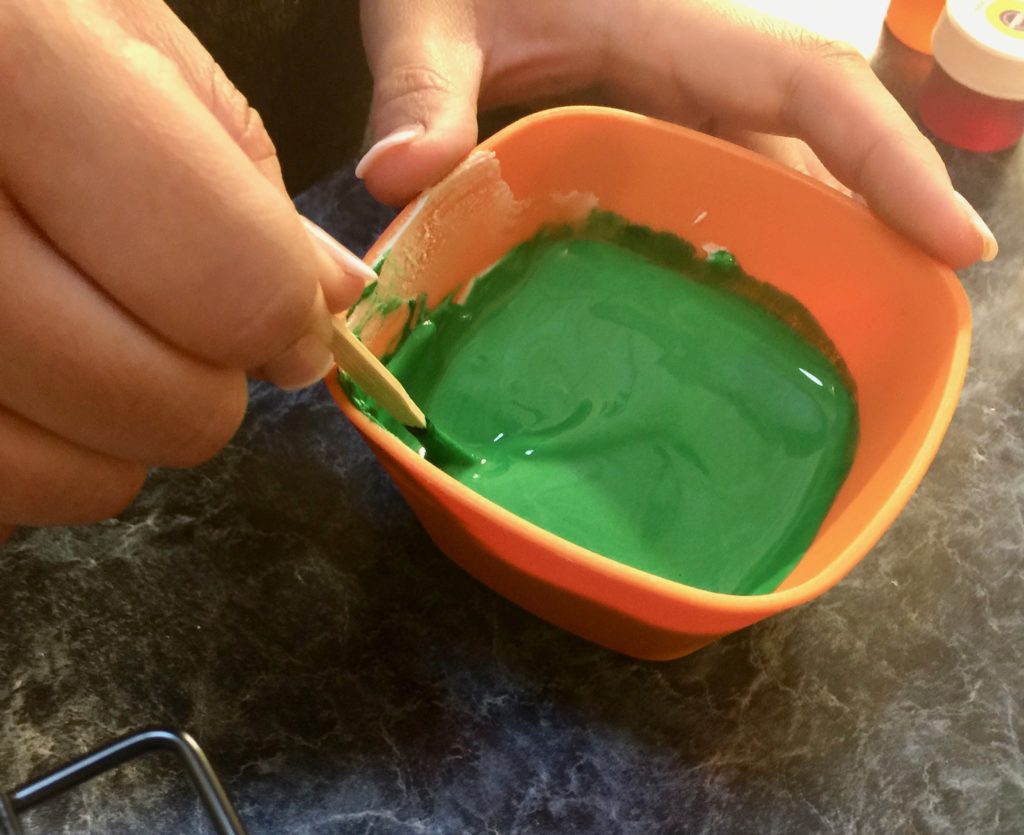
We use gel-based food color (Wilton) because you just need a little dab to make bright colors. The food coloring is a paste instead of a liquid so it doesn’t change the consistency of your icing.
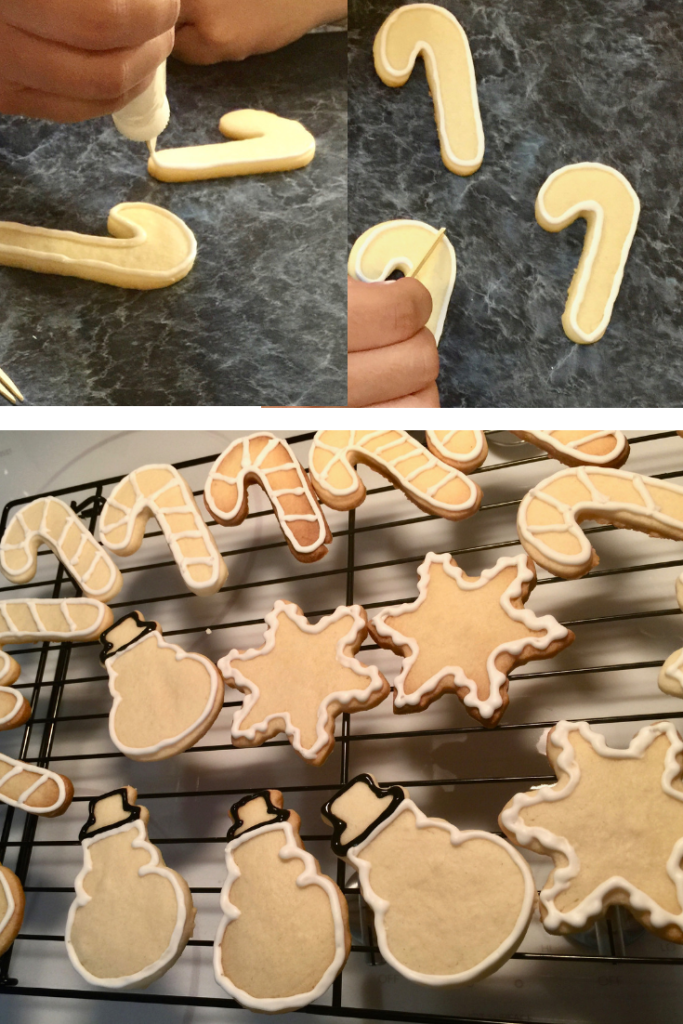
You can see our cookies being decorated step by step. Sarah has the steadiest hands so she outlines each cookie and lets that dry.
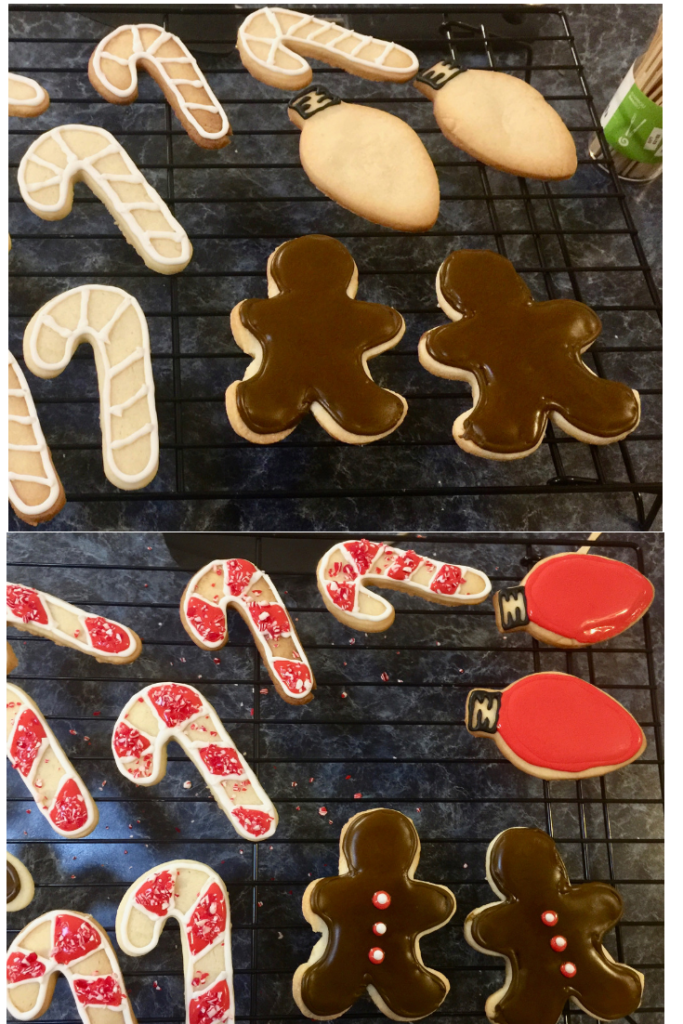
Then you can fill in with icing as desired and it won’t run off the sides of the cookies.

Our Christmas cookies turned out so pretty! Gabe is 5 and he loves to help cut them out. The icing part is still a little too detailed for him but we let him help with sprinkles. One of these days he’ll be making cookies all by himself. Right now we are making Christmas memories!
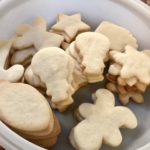
Sugar Cookies
Ingredients
- 1 cup unsalted butter at room temperature
- 1 cup sugar
- 1 1/2 tsp vanilla extract
- 1 large egg
- 2 1/2 cups all purpose flour
- 3/4 tsp baking powder
- 3/4 tsp salt
Instructions
-
Combine butter and sugar in a large bowl and beat until creamy and well-combined with a stand or electric beater.
-
Add egg and vanilla extract and beat until completely combined.
-
Whisk together flour, baking powder, and salt in a separate bowl. Then gradually add dry ingredients into wet until completely combined.
-
Lay out a large piece of plastic wrap and transfer approximately half of the sticky dough onto the wrap.
-
Cover with clear wrap and mold into a disk. Repeat with remaining cookie dough in another piece of cling wrap. Transfer dough to refrigerator and chill for at least 2-3 hours.
-
Once dough has finished chilling, preheat oven to 350F. Line a baking sheet with parchment paper. Set aside.
-
Generously dust a clean surface with flour and deposit one chilled cookie dough disk onto the surface. Lightly flour the dough and roll out to 1/8" (for thinner, crispier cookies) or 1/4" (for thicker, softer cookies). Continue to add flour as needed both on top of and beneath the dough so that it doesn't stick.
-
Cut out shapes with cookie cutters that have been dusted with flour so they don't stick to the dough. Use a spatula to transfer shapes to prepared baking sheet.
-
Bake on 350F for 9-10 minutes, or until edges just begin to turn lightly golden brown. Allow cookies to cool completely on cookie sheet before moving and frosting.

My mom and I always made tins of cookies , Now that shes gone I don’t make as many because Im getting to old to bake now. I like mine with egg yolk and cinnamon with a piece of walnut on mine.
Not sure where I’m supposed to comment on what coffee I’d like to try. I would like to try the Guatemalan coffee since I have never had coffee from Guatemala.
These cookies look great. I can never get the royal icing right. I like to add red hots to mine.
These cookies are so cute. Thanks for the recipe. I pinned it for later!
i love making different kind of cookies.