The Perfect Mother’s Day Bouquet with American Greetings
This shop has been compensated by Collective Bias, Inc. and its advertiser. All opinions are mine alone. #MoreThanAMom #CollectiveBias
Moms of all ages love flowers and Mother’s Day is the perfect time to surprise a mom with a pretty bouquet to brighten her day! Who doesn’t love flowers? Flowers are a symbol of love, respect, and joy! We are a military family and many of our Mother’s Days have been spent not with our immediate families but with families in our military community. Military moms are some of the busiest ladies I have known and don’t have time to spend endless minutes caring for real flower arrangements so I decided to create a floral gift that will last indefinitely and requires no care.
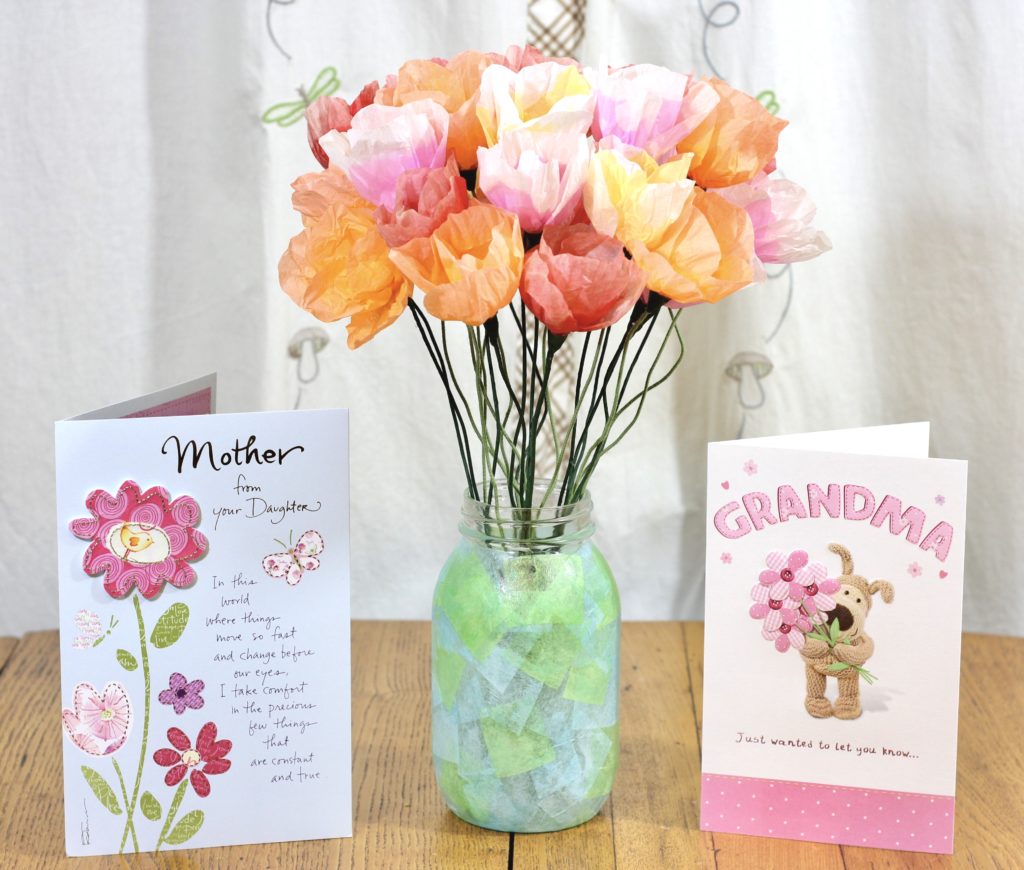
I went to our local AAFES store on MacDill Air Force Base and found the American Greetings display chock-full of supplies to make my bouquet and some lovely Mother’s Day cards, too! I was aware that American Greetings had a promotion for “Buy 3 cards, Save $2” from 4/17 to 5/14 but could not find the signage, however I asked the sales clerk and she told me that indeed the promotion was active so I could save money on my Mother’s Day cards.

I was amazed at the large choice of tissue paper colors that American Greetings had in their display!
So what kind of flowers could I make for my bouquet? So many options – and I chose to make beautiful tissue paper poppies using the instructions from Liagriffith.com. These delicate flowers look so real that you just want to touch them to be sure!
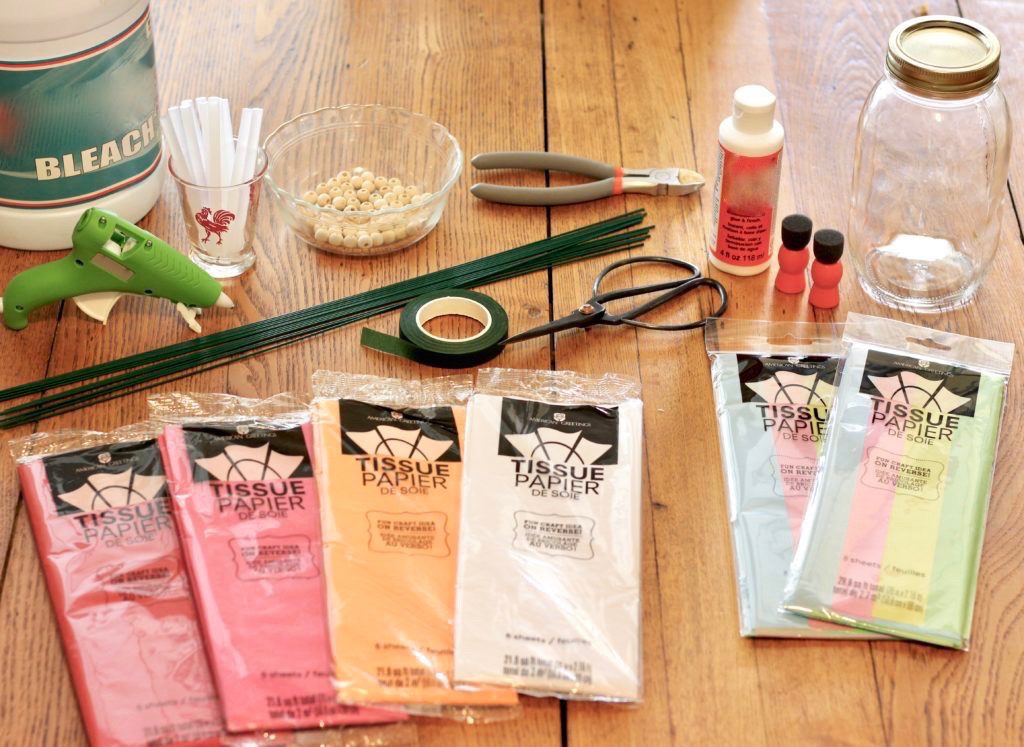
First I gathered my supplies:
- American Greetings tissue paper
- floral wire
- floral tape
- small wooden beads
- bleach
- hot glue
- scissors
- wire cutters
- canning jar
- decoupage medium
- paint brush
- American Greetings Mother’s Day cards
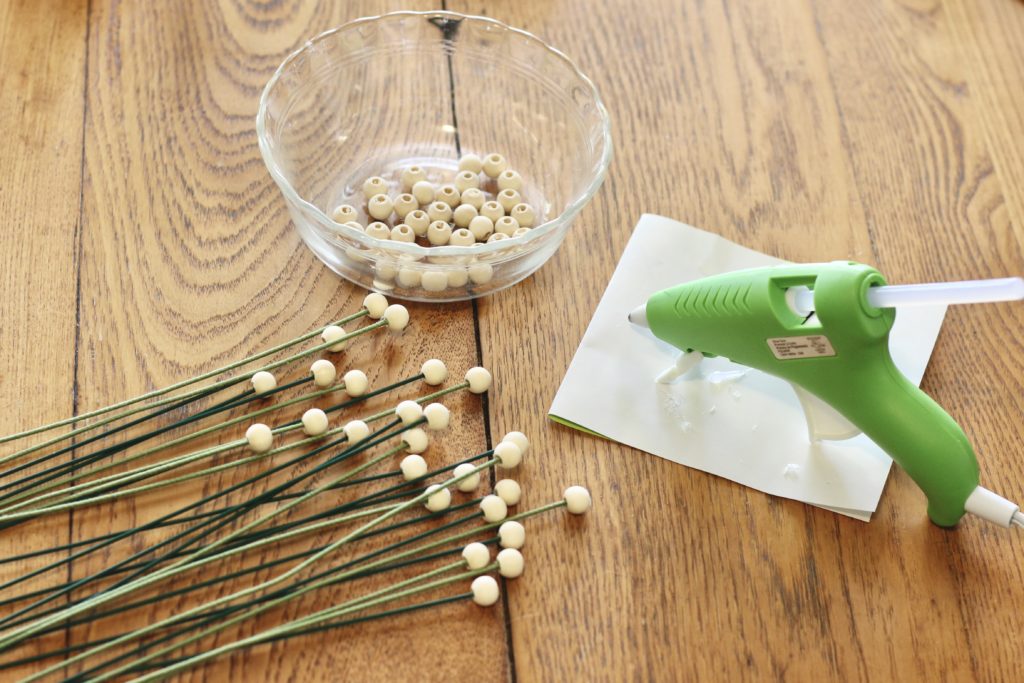
Hot glue wooden beads to the ends of the floral wire stems.
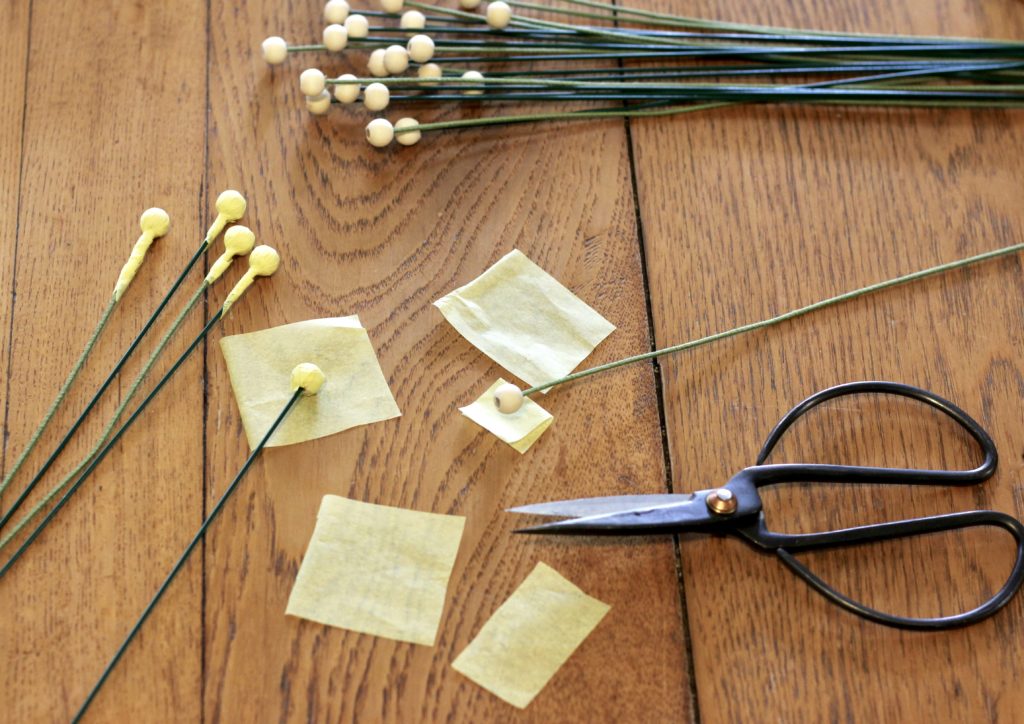
Cut small squares of yellow tissue paper and tightly wrap the wooden beads with it. Because the wooden beads have a hole in the center, I folded a smaller square of yellow tissue paper under the larger square of yellow tissue paper to help mask the hole.
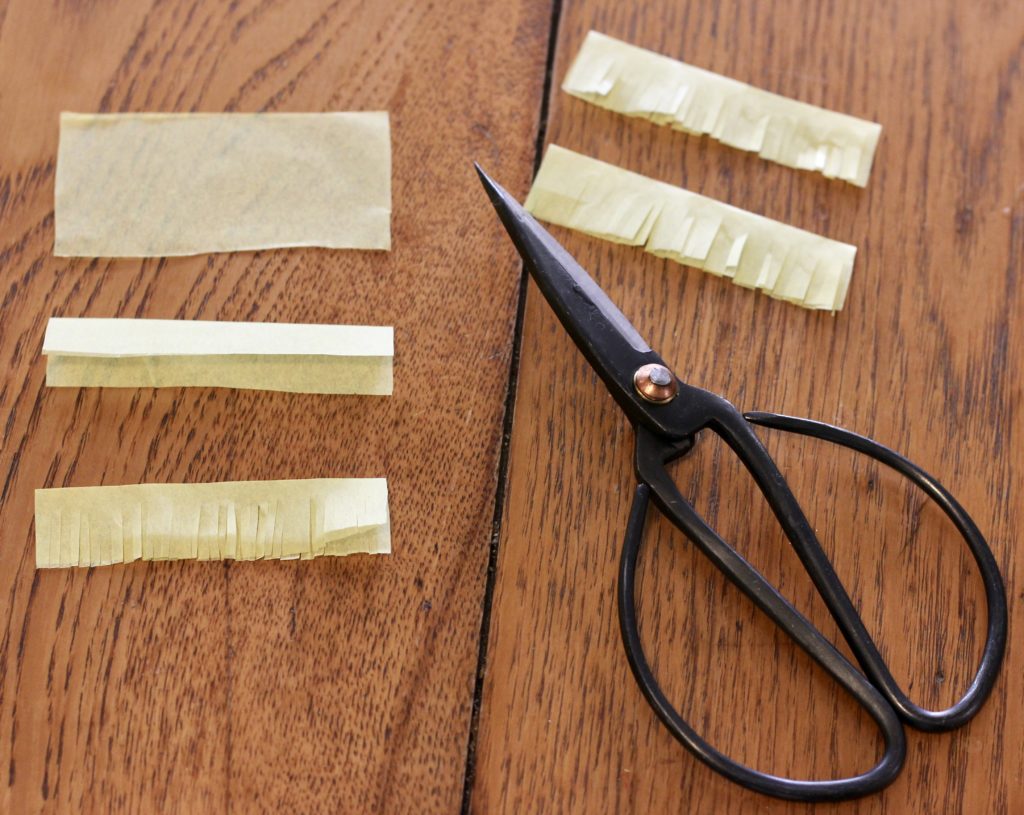
Cut more yellow tissue paper into 3 inch X 1 .5 inch rectangles, fold in half, and fringe cut the open edges.
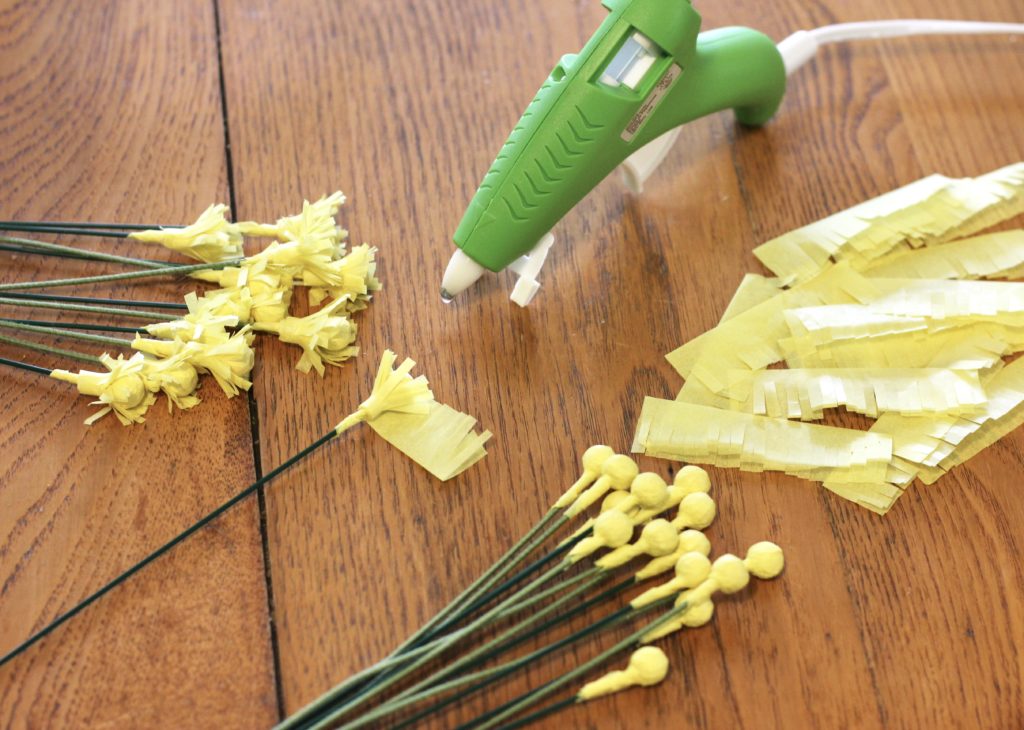
Hot glue the fringe tightly around the base of the balls.
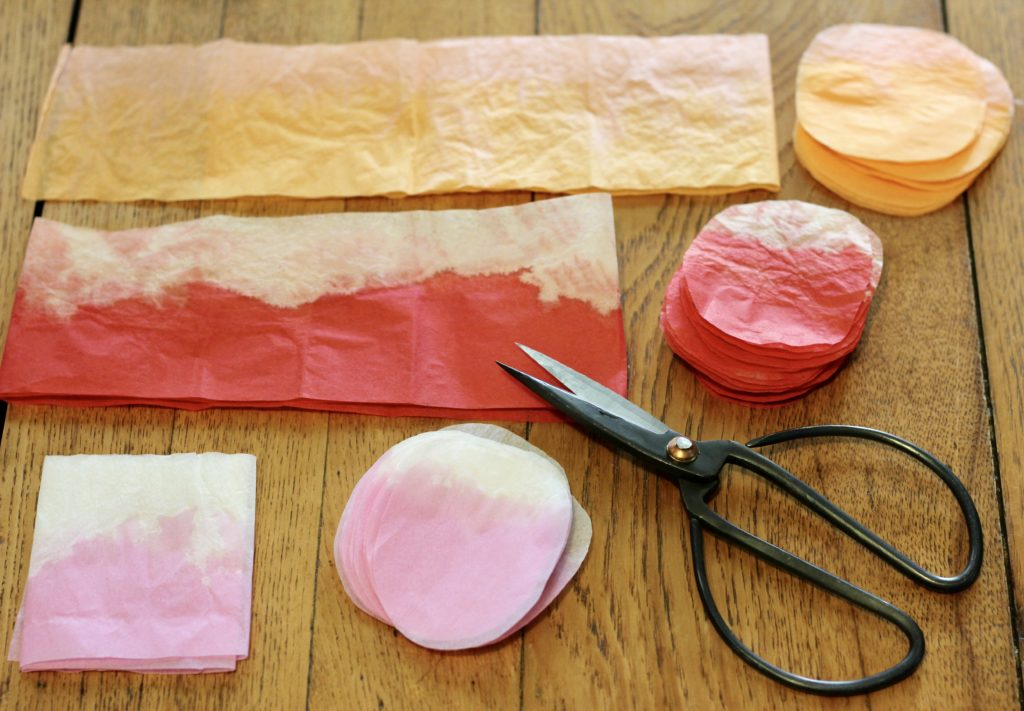
Next, choose the tissue paper that you will use for the flower petals. I chose orange, red, and light link. Cut the tissue paper for the petals into 3″ tall strips. Form the strip into a loose circle and dip the strip in a bowl of bleach using 2 tbsp bleach to 1 1/2 cups of water. (You may need to increase the bleach:water ratio for the darker tissue paper.) Hold the tissue in the bleach for about five seconds and then carefully unroll the strip without them tearing. The bleach will continue to work its way up the tissue after you remove from the bleach.
Let dry either by hanging the wet tissue strips on a line to air dry or by using a blow-dryer. I blow-dried the bleached tissue paper on the low setting. To create yellow and white petals, I used a mix of 2:1 red and yellow food coloring in a bowl of water and dyed white tissue paper similarly to the bleach. Once completely dry, fold the strips over to create 3″ wide squares and cut them into circles. You will need 6 circles for each flower.
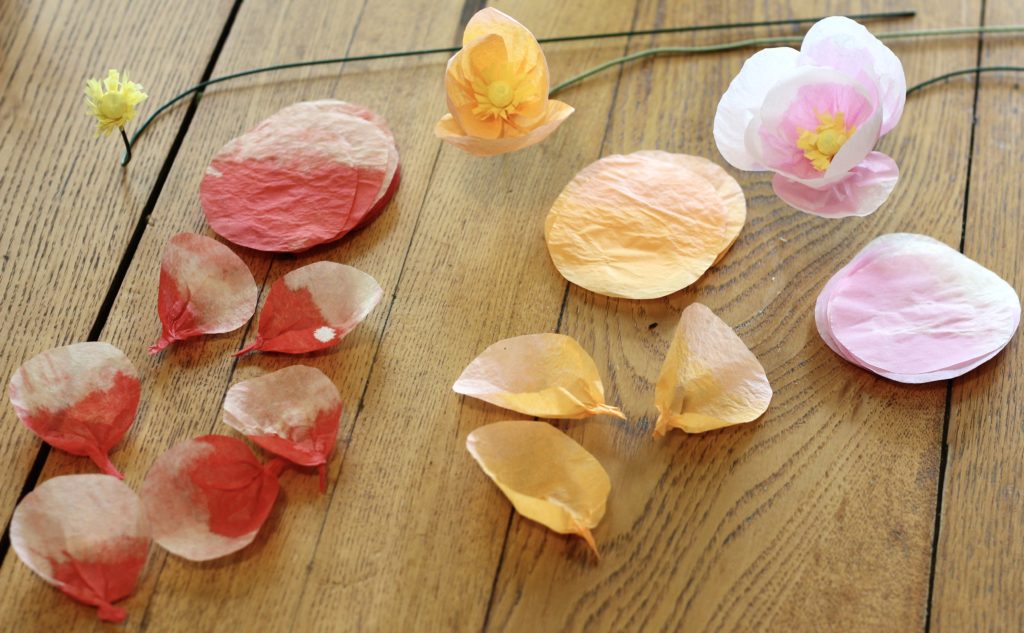
Form a cup by pinching the base of each petal, glue 3 petals around each stem below the yellow fringe, and then make another layer of petals, offset from the first layer, with the last 3 cupped circles.
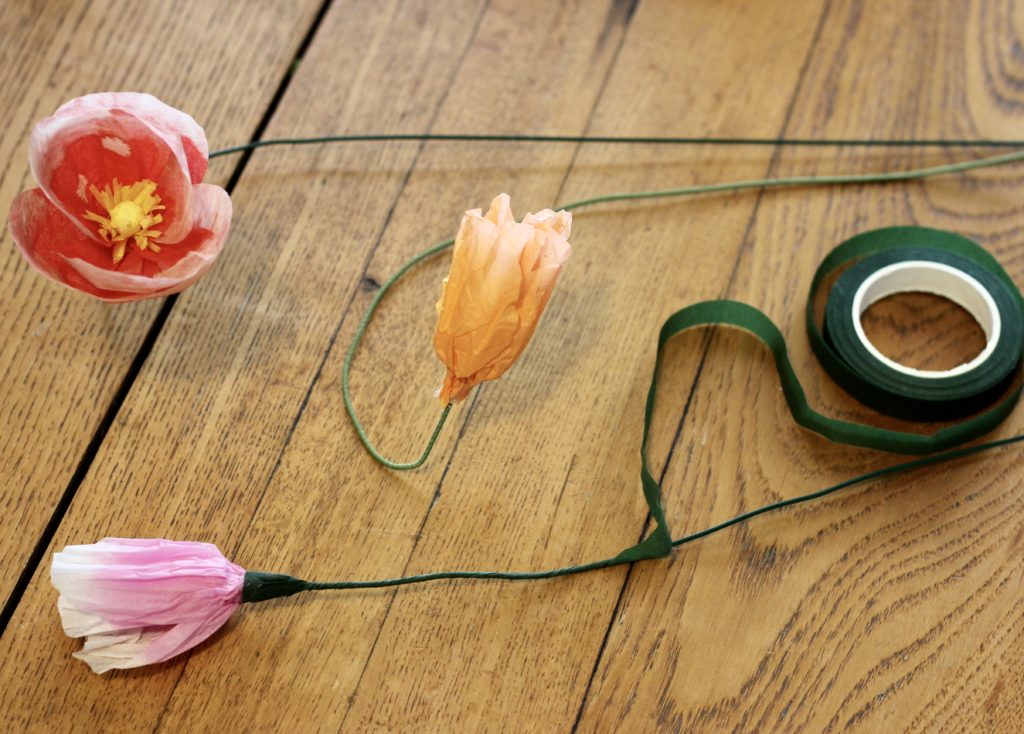
Carefully crinkle the tissue paper petals upward and wrap the stem with floral tape to hold the flower in place.
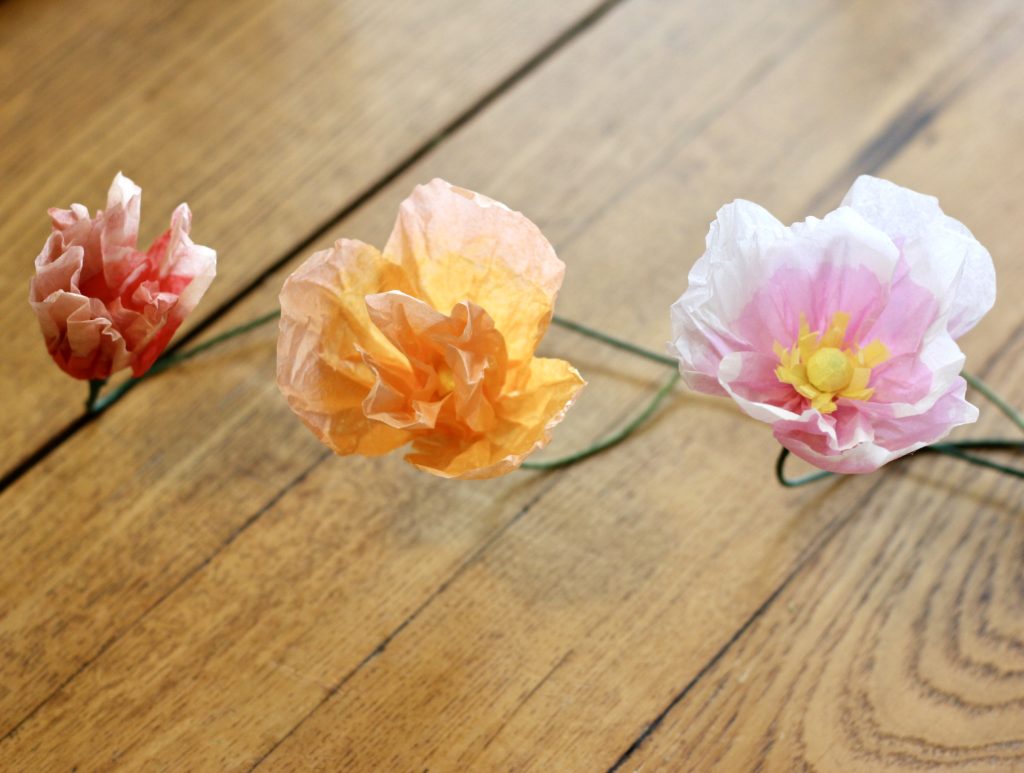
Gently open the petals, one by one, to show your poppy in all its glory!
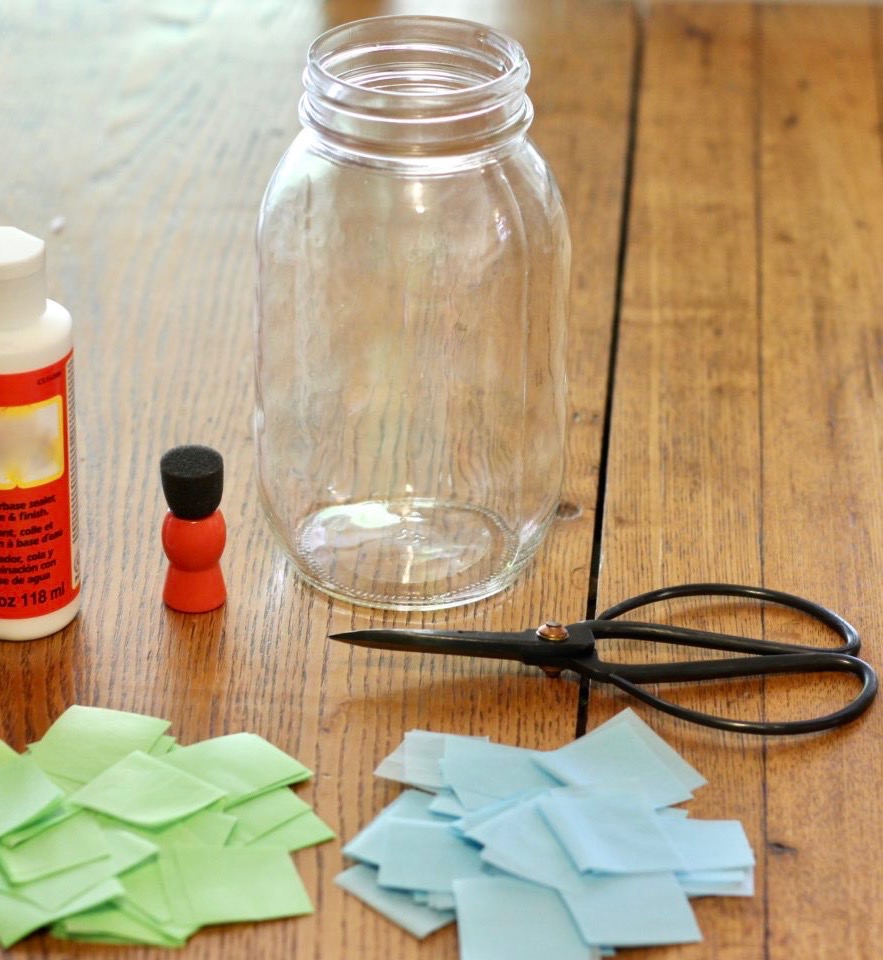
I decided to decorate my own vase to display these amazing tissue paper poppies. I decoupaged a plain quart-size canning jar using green and blue American Greetings tissue paper!
Cut 1″ squares of tissue paper in the colors of your choice.
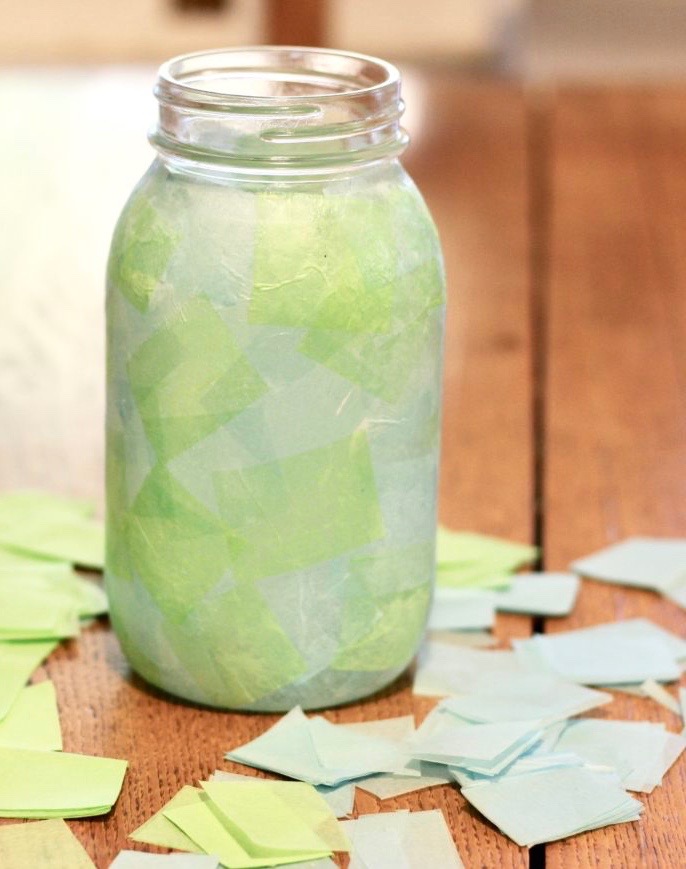
Using a sponge brush or spouncer, cover your jar a little at a time with a decoupage medium and apply your tissue paper squares. Gently press the tissue paper as you go to keep the surface flat. Once completely dry, coat the entire jar with another layer of decoupage medium to seal it.
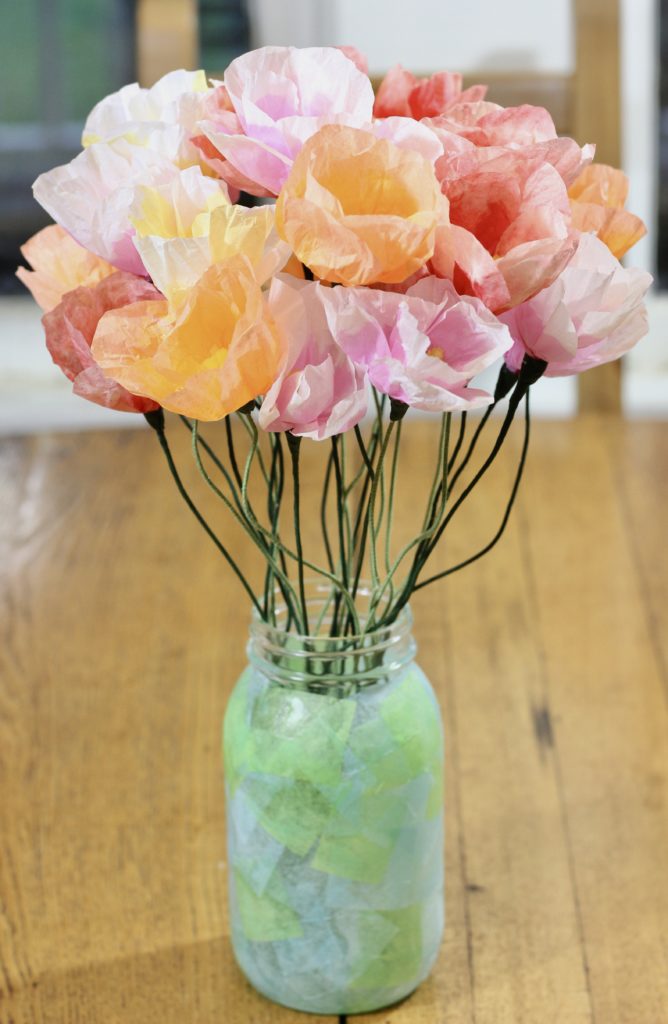
Use the wire cutters to trim your stems. Bend the floral wire to create a natural look and arrange your gorgeous poppies in your vase. Voila! Your bouquet is complete!
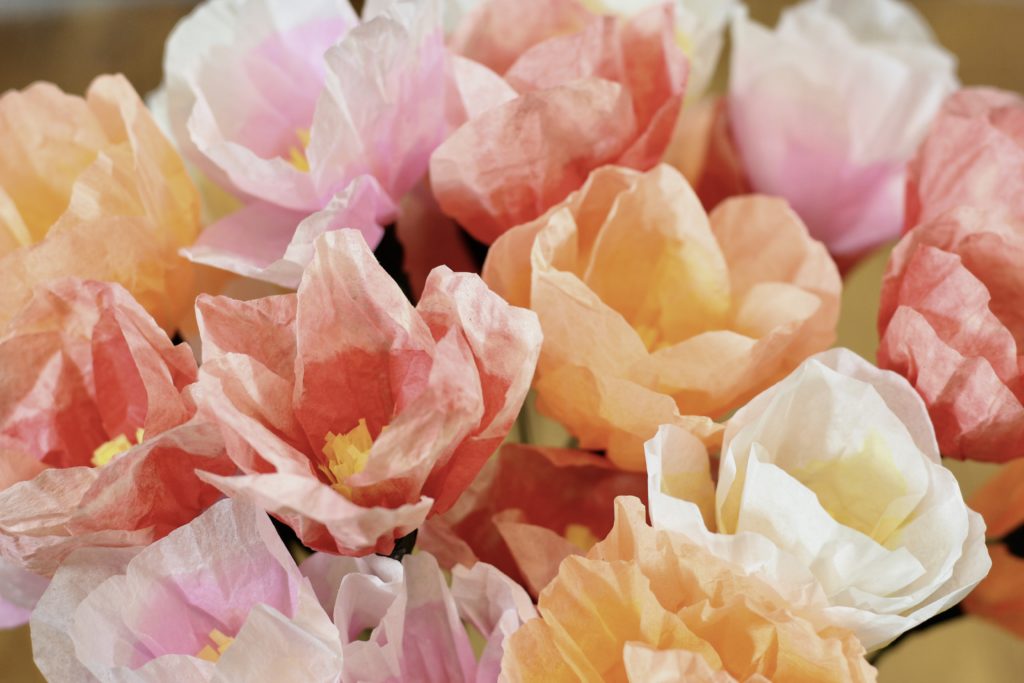
Don’t these tissue paper poppies look like you need to add water to the vase? These flowers will last long after Mother’s Day is over and will serve as a constant reminder to your mom that she is loved all year long!

This Mother’s Day will be special for a couple of moms I know! I picked up two amazing American Greetings cards that complimented my handmade floral arrangements. The sentiments are just perfect and the beautiful tissue paper flower bouquet will let them know that they are special and loved by our family! Check out American Greetings for more inspiration!

These are absolutely gorgeous!! I sincerely mean it. Had you not taken me through the process of you making them I would have had my doubts probably. Not that I don’t trust you, it’s just they are so beautiful and as you said, they look real. I don’t know that I will attempt to make these but if I decide to do a diy for Mother’s Day I will definitely come back to these. Thank you for sharing this.