Make Your Own Autumn Napkins!
Make Your Own Autumn Napkins – A Tutorial
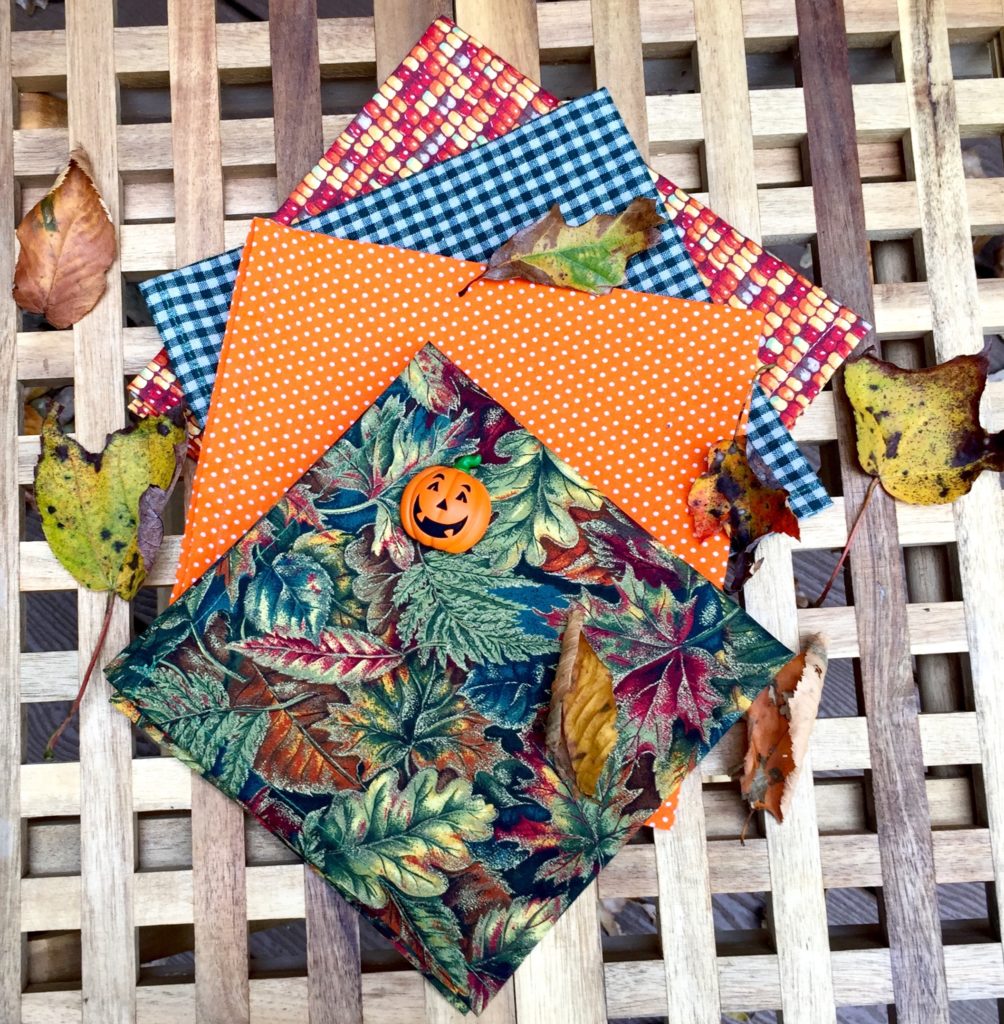 We have using cloth napkins every day at my house for a while now and I have to say that I have become a believer! Cloth napkins used to be something for fancy dinners or the holidays, something you used at a nice restaurant, or something you found in your grandmother’s old box of stuff from bygone days. I have found any number of these vintage napkins at estate sales for pennies. No one uses them anymore, maybe because they have an aura of being more fussy and formal than we are today. But using cloth napkins saves money and keeps trash out of the landfill. You don’t need to use your grandmother’s fancy damask napkins (unless you want to – and why not?) and you can make your own to suit your style. Let me show you how!
First you need some fabric and a sewing machine. You could always hand sew them like in the olden days but that does take a lot more time. Cotton fabric is the most absorbent and wears very well. It is my choice for every day napkins and my husband doesn’t care if they are a bit wrinkled sometimes. A cotton/polyester blend will not wrinkle as badly as cotton but the fabric is not as absorbent. Whatever fabric you choose, wash and dry it before you start your project. If it is going to shrink or the colors are going to run, you need to know before you use it.
Any sewing project requires your iron to participate. Get out your ironing board and iron. Before you measure and cut, iron your fabric.
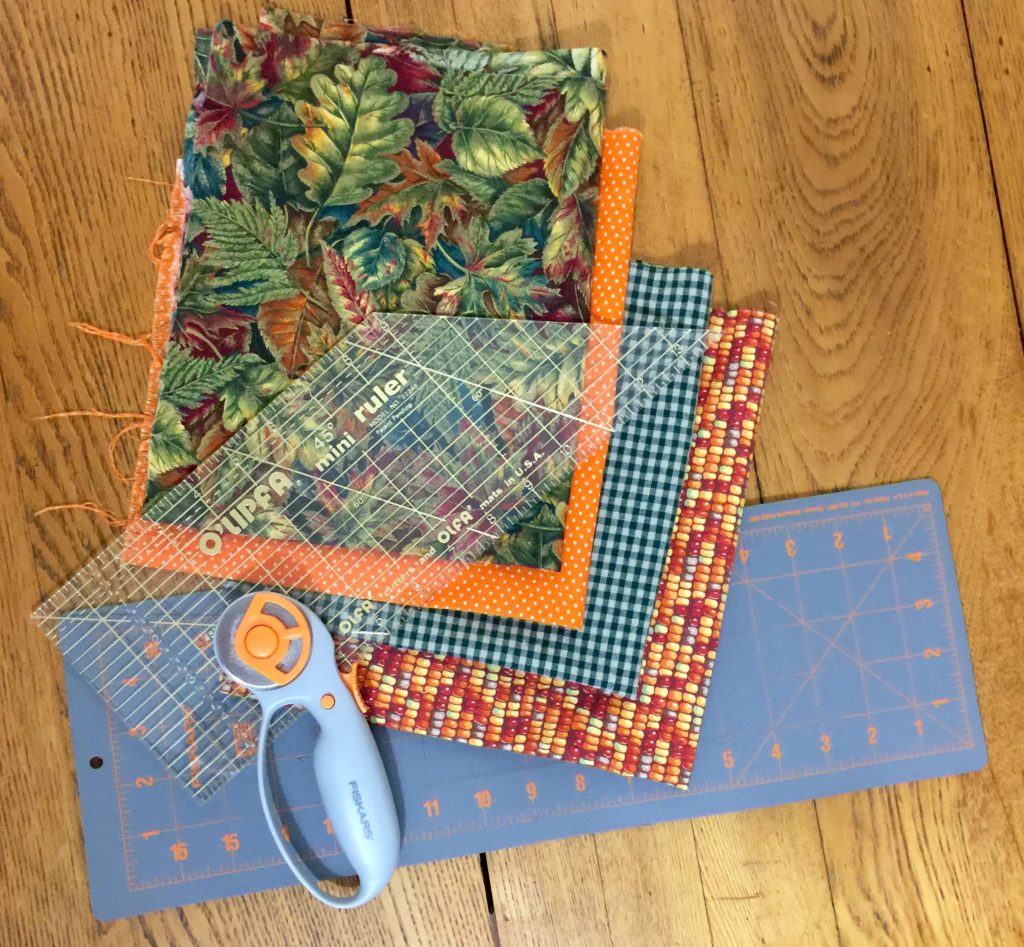
Napkins are generally square in shape and you can make yours any size that suits. I cut my cloth into 17″ X 17″ squares and plan on a 1″ total fold-over on the edges, making the finished napkins about 16″ square. You can use a cutting mat and rotary cutter but plain old scissors and a ruler will do.
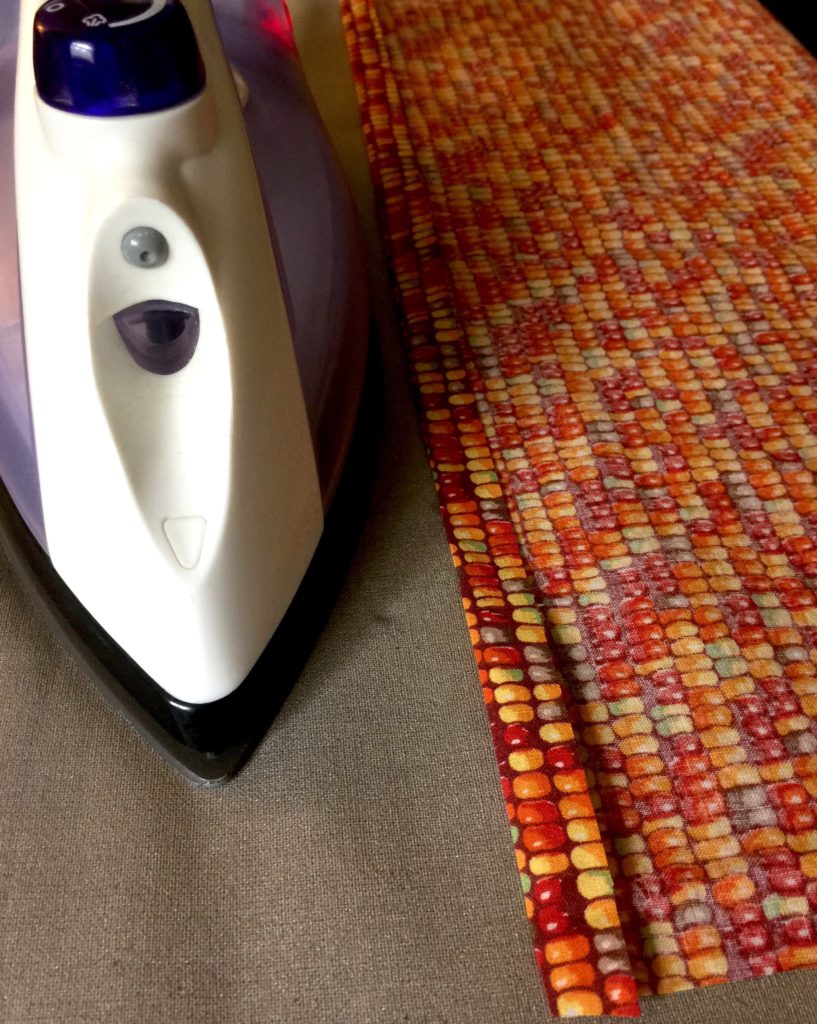
Press down your folds before you sew. It makes all the difference! Fold over 1/2 inch, press, fold over another 1/2 inch so your raw edge will be covered, and press again. You can eyeball it if you want. If your folds are pressed, you will have a nice straight edge and your folds will stay put.
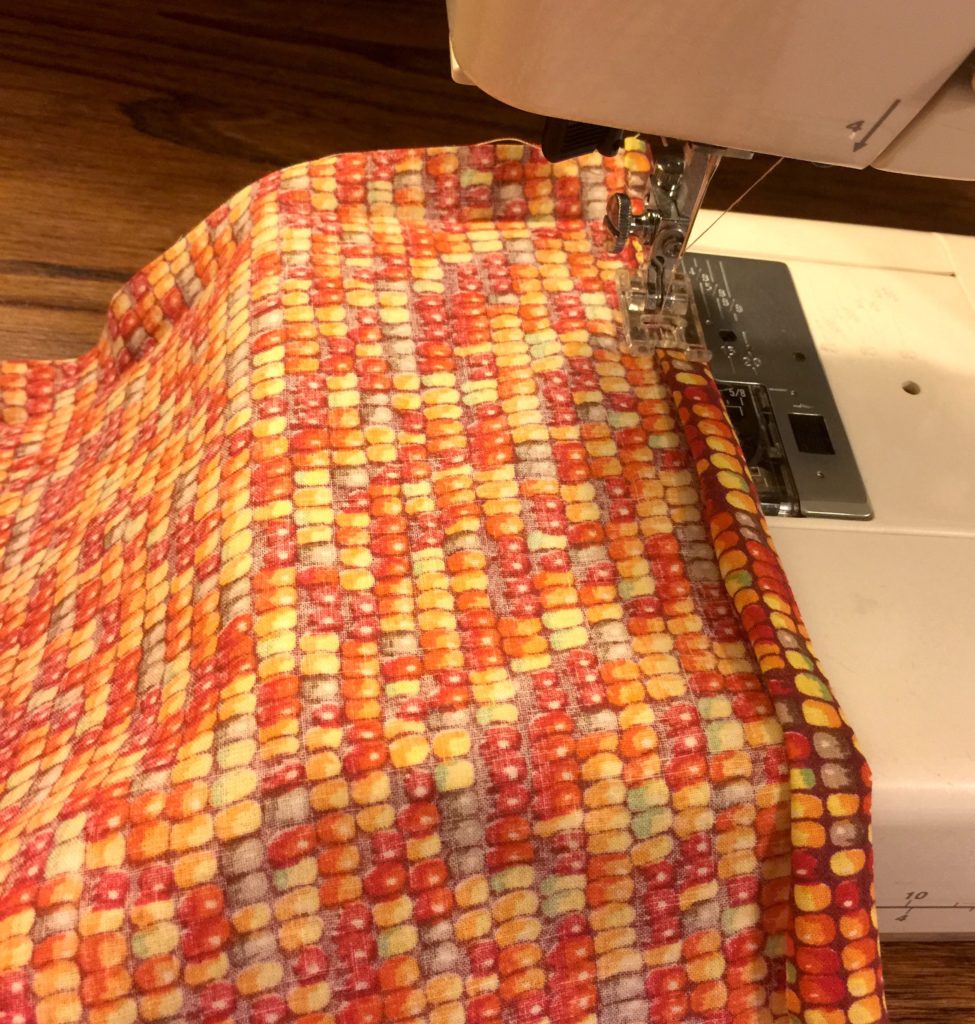
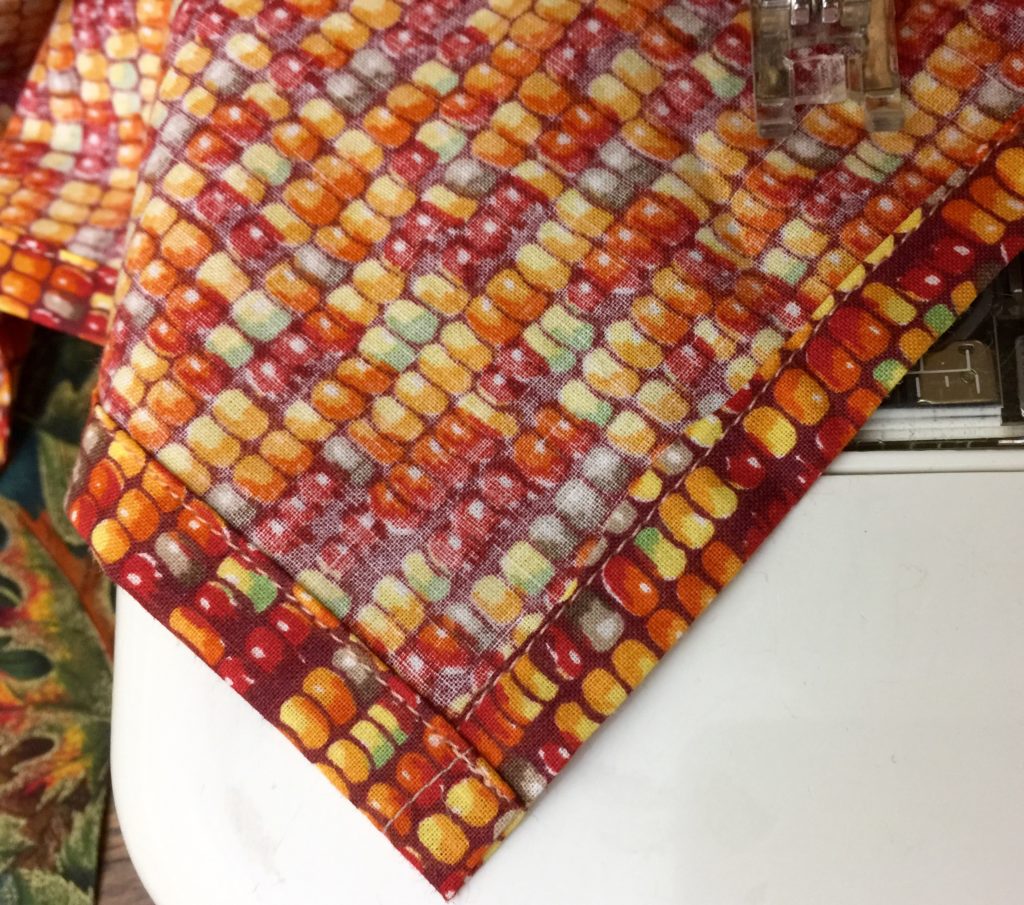
Pick a side and sew to the end of that side, back stitch to keep your stitches intact. Cut your threads. Work around all 4 sides of the napkin this way.
It takes very little time to make your own napkins and when you are finished, you will have napkins that will serve you daily for many years to come!

I’ve never made my own napkins before. These came out very nice.
I don’ tknow how to sew and don’t have a sewing machine but I wish I did.
This is a great idea and so cute!
What a fantastic idea, I love the different patterns you chose to do .
@tisonlyme143
I haven’t used a sewing machine since I was in Home Economics in Junior High and I don’t own a sewing machine. I would like to attempt to sew some, but I’m afraid my hands would hurt too much, because of my arthritis!! I did pin this! My one grandma had some really nice, colorful, cloth napkins. Her napkins could’ve been wonderful keepsakes! She died over 30 years ago and I don’t know who got them. This article brought up some nice emotional memories of her and my grandpa! Thank you!!
I love these